Transferring BMRB Assignments
- Extract the N-HN projection from the 4D HCNH NOESY. (Make sure the
poky_[linux]/bindirectory is in your PATH).ucsfdata -p4 -r -o 3D_HC-C-N_proj.ucsf 4D_HCNH_NOESY_NUS_reconstructed.ucsfucsfdata -p1 -r -o 2D_N-HN_proj.ucsf 3D_C-N-HN_proj.ucsf
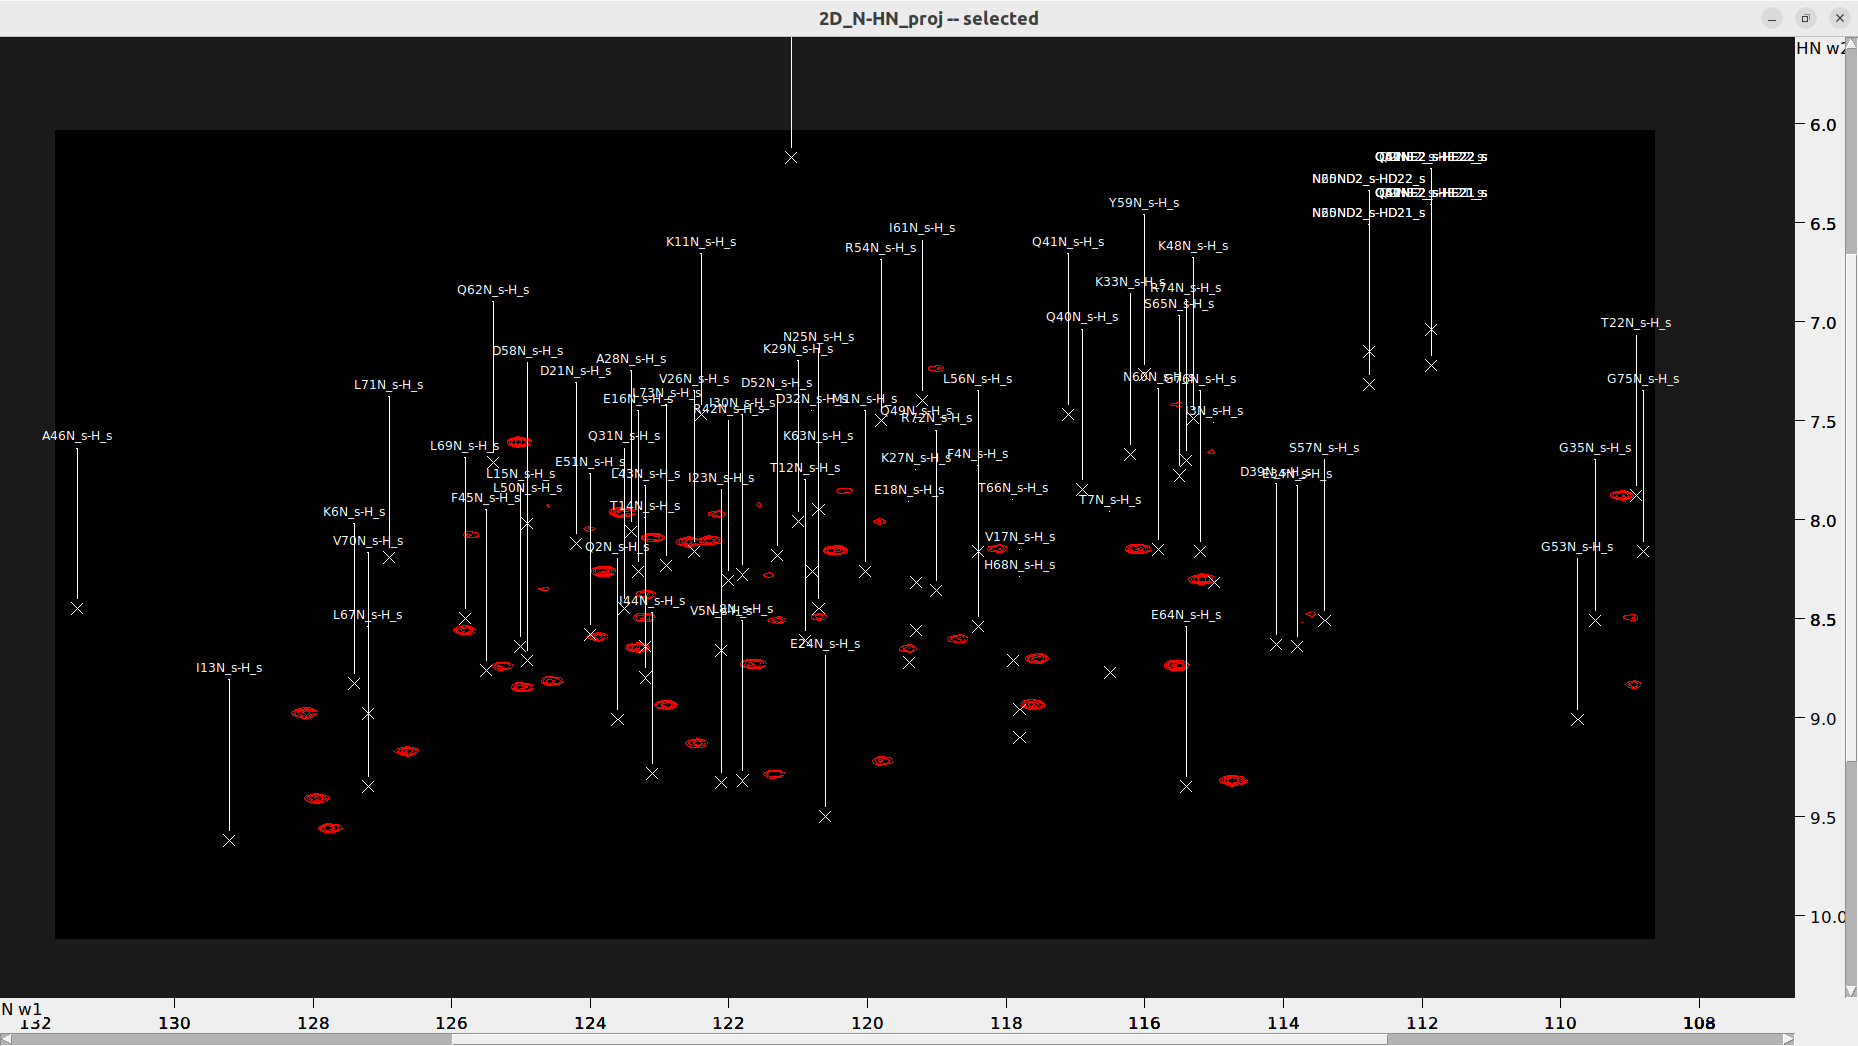
- Load 2D_N-HN_proj.ucsf and execute the
vtcommand to open the “View Settings” dialog. Adjust the “Aspect (ppm)” value to set the scale of each axis and improve the view (e.g. 0.35).
Important Preliminary Step
Before transferring labels from a BMRB entry, ensure that the HSQC spectra are properly referenced. In NMR spectroscopy, referencing is crucial as it calibrates the chemical shifts of all signals relative to a known standard. The most commonly used direct reference standard in liquid state NMR is DSS (sodium 2,2-dimethyl-2-silapentane-5-sulfonate) for 1H, which serves as a universal, primary reference for all NMR spectra. Other nuclei such as 13C and 15N are referenced indirectly through their gyromagnetic ratios. The reference values from Bruker, based on DSS, are:
- 1H: 0.066 ppm
- 13C: 2.734 ppm
- 15N: 0.089 ppm
These values are for an 850 MHz spectrometer, and it’s advisable to check if they apply to your specific equipment.
Steps for Label Transfer
- Load the HSQC Spectrum:
- Load your spectrum into Sparky or POKY.
- Shift Axes:
- Use the command
stto shift the axes by the reference values mentioned above.
- Use the command
- Download BMRB Assignments:
- Ensure you have the assignments in NMRSTAR3 file format.
- Load Assignments:
- Load NMRSTAR3 Use
nsto convert the NMRSTAR3 file to a Sparky ‘.list’ file. - Load the converted file with
rl.
- Load NMRSTAR3 Use
- Transfer Assignments:
- Use
tato select the spectrum type loaded and clickTransfer. Note: You can load the original NMRSTAR3 file directly, but be aware that assignments will have an “_s” suffix.
OPTIONALLY: “_s” tags can be removed by “ut” (untag _s) or “cu” (untag _s and center)
lrfollowed byluto offset the labels to the right and up if they overlap with each other. - Use
- Adjust Label Visibility:
- Use
lcto center the labels. - Use
luto adjust labels to prevent overlap.
- Use
- Modify Label Size:
- If labels are too small and hard to read, type
ozand adjust the size properties in the popup window.
- If labels are too small and hard to read, type
- Cleanup Resonance List:
- Use
drto clean up the Resonance list.
- Use
- Shift Resonances:
- Use
mvto manually move a selected peak to its appropriate location. This action will shift all other peaks assigned to the same resonance along that axis by the same amount.
- Use
-
Center Peaks: - Use
pato select all peaks, thenpcto center them at their resonances. - Final Adjustments:
- Manually align each label with its corresponding peak. Use
pcto automatically center it, or adjust the label positions manually, select all (pa), and center (pc).
- Manually align each label with its corresponding peak. Use